This is a quick tutorial to show you how to create tensorflow environment in Jupyter Notebook. I strongly encourage you to install Anaconda before creating the tensorflow environment.
First of all, open the Anaconda Prompt and run as administrator

After that we need to create the tensorflow environment. In this case, I will name it “tf-env”.
Create the environment
conda create -n tf-env tensorflow
After that we need to test whether the installation is good or not by activating the tensorflow.
Activate the environment
conda activate tf-env
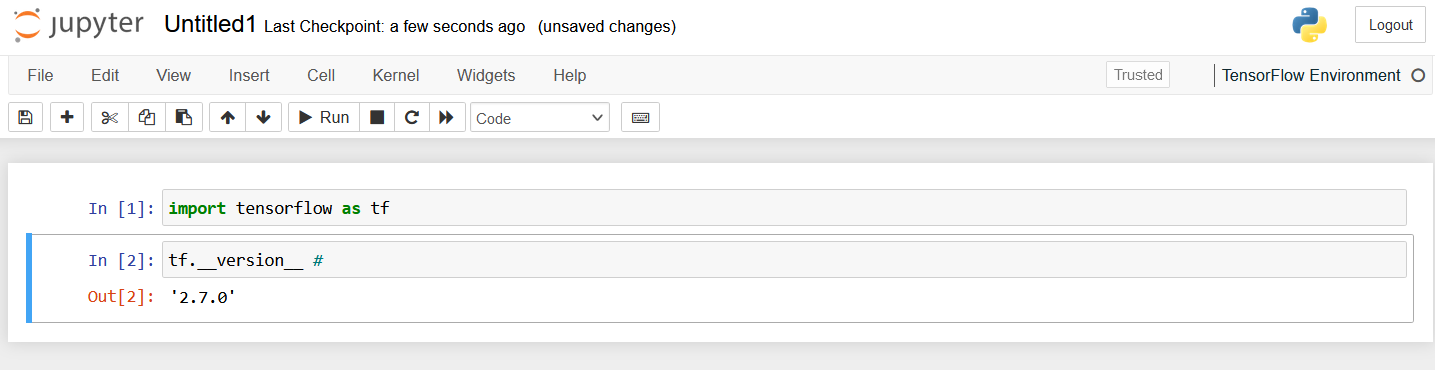
Then we need to check if the tensorflow already installed or not by writing this code :
python
import tensorflow as tf
tf.__version__ #
This is the result when tensorflow is installed :

After all of that, we can continue to the next step, which is creating a kernel to use tensorflow in Jupyter Notebook. Here is the code to activate the kernel :
Install the ipykernel
conda install -c anaconda ipykernel
Activate the kernel
python -m ipykernel install --user --name tf-env --display-name "TensorFlow Environment"
Here is the result if the kernel was installed correctly.
Kernel

Tensorflow in Jupyter Notebook
Additional Information
Note: This is a clean installation of Tensorflow in Jupyter Notebook. You will need to install various libraries such as : pandas, numpy, matplotlib, etc if you want to properly used the Tensorflow.